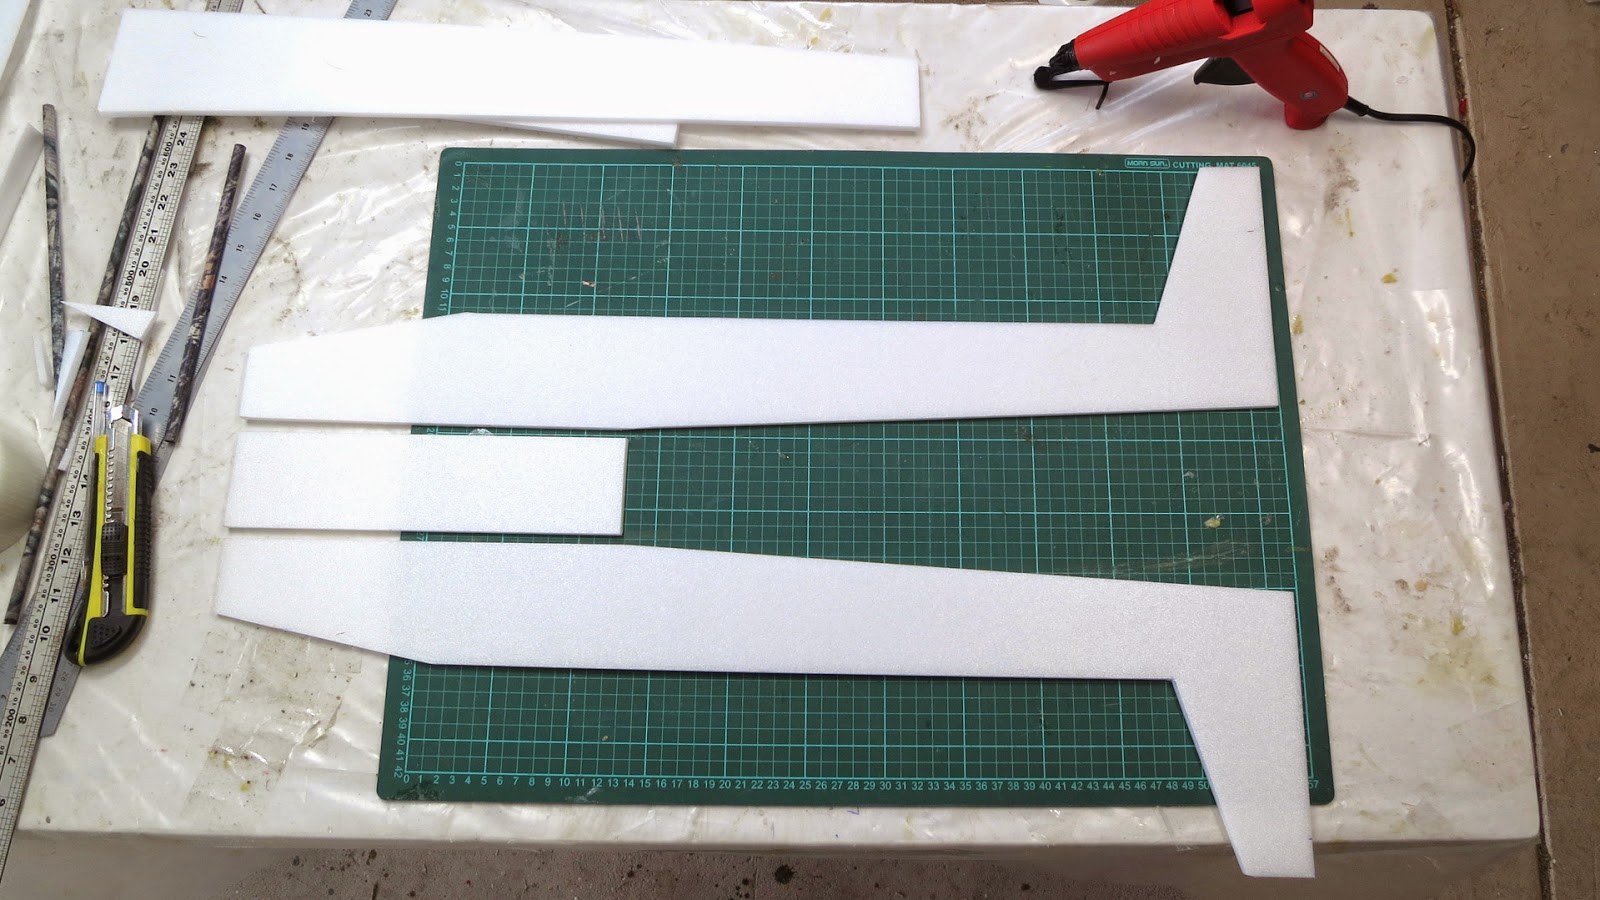
A couple of things prompted me to try this traditional foam wing cutting method.
1. Thick boards of XPS insulation foam appeared in Bunnings. Either I have been unobservant or they have just recently added this stuff to the product line. 30mm and 50mm thick 1200mm x 600mm boards are available for $12 and $20.
UPDATE 2025: Now replaced with Blue XPS boards at Bunnings. I have not tested it for hot wire wings yet.
2. There was an old PC power supply that was about to be trashed at work and I already had some 0.6mm MIG welding wire for the resistive wire.
I followed some online videos about getting 12V DC from the PC power supply. First time I turned it on the house safety switch tripped, so it went in the bin.
Instead of a mains supplied power source I decided to try using a 3S LiPo, and it worked beautifully.
I'm using a watt meter to keep an eye on battery level, current and consumed mAh
The pine frame stretches the resistive wire across a 750mm span at the front. Tension is maintained by stretchy shock cord at the back.
Voltage is applied to heat the wire via alligator clips and I have an ON OFF switch on the frame. The LiPo connects via an XT60 plug.
Airfoil images and plots can be downloaded from The University of Illinois Airfoil Data Site. To make templates the airfoils need to be resized, printed then cut out of a rigid heat resisting material. I'm using 3mm MDF board but G10, formica and carbon fibre are also used.
The MIG wire broke mid cut a couple of times so I changed to 40kg stainless steel fishing wire and it's working well. It's 7 strand and nylon coated so the coating needs to be stripped off. I burned it off but it can also be easily peeled off using a knife.
Here's the "How to" video including a test flight.
As these wing cores are solid foam there is nowhere for the spar to fit.
This video shows three ways to form a spar channel.
UPDATE Jan 2016
I am now using a 4S Lipo for more heat in the wire, enabling a faster and smoother cut for 850mm wing halves.
The wire needs about 5A to heat up enough for cutting. I use 4S for my 850mm big bow, and 2S for my 40cm small bow.
Also changed to single strand 40kg SS fishing wire, which has resistance value of 4 Ohms per metre.
I have changed to thin aluminium sheet (window flashing) for the templates. Can be cut out with scissors.
The SunnySky X2212 KV980 motors finally arrived from Banggood. They went out of stock for a while, might have had something to do with reports of poor quality copies sneaking into Banggood's inventory. Apparently the supply problems have been resolved now.
Mine seem to be genuine and do perform beautifully. They are smooth and efficient, giving about 50% longer flight times than the DT750 motors.
The Emax 10x4.5" props also from Banggood work well with this setup.
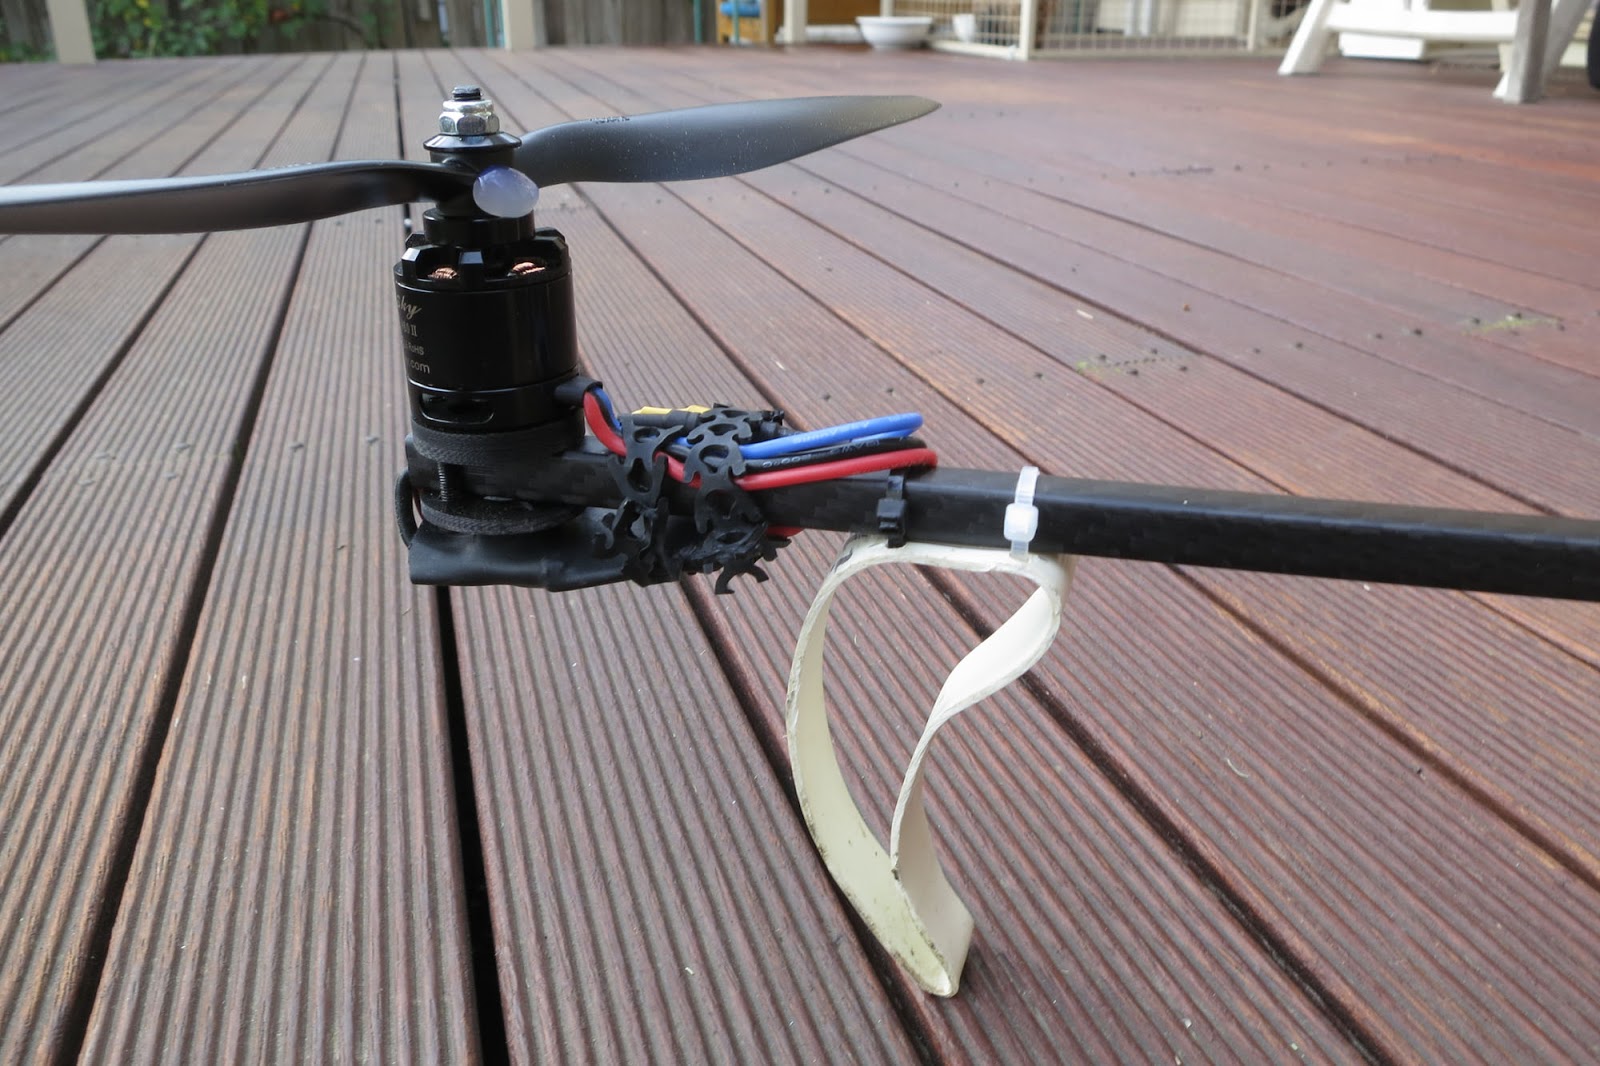
I need to share my experiences with these DT750 motors. They are well suited to tricopters but do have some design faults which need to be dealt with first.
ESC wire support
The 3 wires are not flexible, just continuations of the single core windings, and will break with bending and vibrations. To prevent this they must be supported around the base with big blob of epoxy glue. I used 5min Araldite and it worked well.
Motor shaft "pull-up" The shaft is about 40mm x 4mm and threaded. In theory you don't need a vibration inducing prop adapter, just a nyloc nut. BUT unfortunately the shaft is not rigidly fixed to the motor bell. Tightening the nut enough to stop the prop slipping pulls the shaft up through the motor bell. This increases the bearing friction making the motor heat up and draw more current. The shaft is only held in the bell by one tiny grub screw, which is not enough to resist the "pull-up" from the prop nut.
I had some nasty crashes caused by a slipping tail prop because I couldn't tighten it down enough. Broke an arm and ruined an expensive digital servo.
The solution is to put a nut onto the shaft right down to the unthreaded part, then a washer, prop, washer and nyloc nut. That way the prop doesn't push down on the motor bell. Unfortunately I had already cut the shaft too short before I discovered this problem so have had to resort to bulky 4mm prop adapters.
Quest for the best propeller Turnigy Slow Fly 10x4.5 props are OK but very thin and flexible.
10x5 Gemfan Carbon nylon Graupner copies from Banggood are much stiffer but less efficient giving shorter flight times.
Emax 10x4.5 props from Banggood are a bit stiffer than the Turnigys and may be the perfect choice. Testing continues.
Here's a quick and dirty tricopter build mostly using materials from my local hardware store.
It covers the basics of design and assembly. The tri flies OK but performance would be improved with more balanced motors and prop adapters and some P and I adjustments.
I haven't covered KK2 setup and tilt mechanism construction but David Windestal's has...
Thanks to great build videos by David Windestal I have recently become interested in tricopters.
Until now I have not bothered with multi rotors at all and still prefer wings and airfoils to motors. But it looked easy enough and searching through my spares box found most of the required electronics. I had three 2822 1450kV motors and three 25A Plush ESCs so only needed to buy a flight control board and some counter rotating props.
Why a tri and not a quad?
Well every man and his dog has a quad which makes tricopters cooler.
Tricopters have a tilting tail rotor for steering, which gives more "plane-like" flight characteristics. Also there are only 3 motors / ESCs rather than 4 so they are cheaper.
KK2 flight control board
The brains of a multi rotor is the flight control board. I chose the simplest board, the KK2 (A$26 from Hobby King).
The KK2 takes your Aileron, Elevator, Throttle and Rudder commands (or stick movements) and translates them into motor speed changes and tilt servo movements.
The KK2 has 2 flight modes: Manual, where the tri will stay at the flight angle you command until you make a correction. Self-level, where the tri will return to level when the sticks are centred. The KK2 also supports the Super Simple Gimbal which is really simple and really works, kind of like steady-cam for an onboard camera.
KK2, Rx and servo power supplies
KK2 board on a tricopter requires two power connections, one to power the board and the receiver, and the other to power the tail servo. They need to be separate for it all to work smoothly. Something about gyros and servos and power loops can cause jittering and instability apparently.
The ESC from motor 1 (front left) plugs into the M1 pins on the KK2 (top right) and provides 5V to power the board and receiver. Do not be tempted to plug 12V in anywhere or you will have to order a new KK2 board (yes I did). There are battery monitoring pins but make sure you know what you are doing before connecting, or just dont use them.
On tricopters a second BEC must be connected to M2 pins (or M3...M8) to provide 5V to the servo. You can use the built-in BEC from the ESC on motor 2 if it is rated high enough. Otherwise add an external BEC.
More than one "switching" style BECs should not be connected on these pins at the same time. Linear BECs are OK. If the ESCs on both motor 2 and 3 have switching BECs remove the red servo wire from one of them to disconnect it's BEC.
On a Quad you can use one normal ESC connected to M1 and three OPTO ESCs because there are no servos needing power. OPTO ESCs do not have an onboard BEC.
Firmware upgrades
There is a lot of chat on RCgroups about which firmware is best for the KK2 and the ESCs on a multi rotor. Apparently Stevis for the KK2 gives more options and better performance than the stock firmware, and SimonK firmware for the ESCs gives smoother and more responsive performance. To start off I used the stock firmware on everything just to get a feel for flying multi rotors, and it all worked perfectly well.
I have since flashed the KK2 with Steveis V1.9 using a $5 USBasp programmer from ebay, and bought Afro ESCs pre flashed with SimonK. Performance is smoother and more responsive.
Here are some early videos. I'll add a build video and onboard footage soon.
At the moment I'm spending time learning to fly better and optimising the tricopter to reduce vibrations. Stay tuned.
Testing and maiden flights
Arm repair time-lapse
SPECS
Motors - Turnigy 2822/14 1450kV
ESCs - Turnigy Plush 25A (stock firmware) x 3
Updated to Afro 30A (simonK firmware) One with BEC to power the board and 2 OPTO (no BEC) plus a Plush 18A ESC (which has a linear BEC) just to power the servos
FC board - KK2.1.5 stock firmware Updated to steveis V1.9 firmware Props - weak flexy green 8 x 4.5" Hobby King / Gemfan Updated to much stiffer Gemfan 8045C carbon nylon CW/CCW pairs from Banggood
I was keen to try some aerobatics with powered planes but The Red was not quite up to the task. Too much of a glider and not enough rudder. So this is what I came up with.
It has a 1.2m x 180mm 12% chord Armin wing and a 700mm fuselage both made from 6mm depron covered with 75 micron document laminating film. That is the thicker laminate and it added lots of strength.
I also wanted to try a design with the tail as part of the fuselage, and test a full flying elevator setup. Both are working very well so far.
Fuselage construction started with the side and bottom panels in uncovered depron
The sides were glued on top of the bottom panel, which defines the width of the front area.
The tail halves were glued together giving the taper curve, then top and bottom panels added.
The fuselage was then covered with 75 micron laminate.
This added a great amount of strength, especially to the narrow tail area.
The 2826/10 1400kV motor is mounted to 5mm plywood with ventilation holes drilled out. Initially I built in some down thrust but I am still testing to find the right amount. Plastic washers can be added or removed to vary the angle.
The most radical feature of this design is the flying elevator. The whole horizontal stabiliser pivots on a 3mm carbon fibre rod which also acts as the spar. The rod passes through a brass tube glued into the tail. The inner diameter of the brass tube must be just bigger than the CF rod to give free movement but minimal wiggle. To hold the brass tube firmly there are 25mm discs of foam sandwiched between ID card plastic on either side.
Plans
Overview and build video
Field and slope flights
SPECS
Armin wing span - 1.2m (47")
Airfoil chord - 190mm (7") including 45mm (1.5") ailerons
Airfoil thickness - 23mm (12%) using 9mm formers
Spar - Skyshark P4X 7.5mm x 850mm, 57mm back from LE
Fuselage Length - 700mm (27.5")
Flying weight (2200mAh LiPo) - 770g
Full span Ailerons / Flaperons
Full flying Elevator
Large Rudder
TGY 9018MG servos x 4
Motor - Turnigy 2826/10 1400kV with 8x4 prop
ESC - Plush 40A